In my DDoE Quick TTC utility, I split text out into separate listbox columns. That means the column widths are always changing. Jan Karel has a very nice write-up on autosizing listbox columns. Based on that, I wrote the below procedure. I used the hidden label technique that JKP suggested. Instead of passing in the number of characters, I just used the actual characters in the listbox. It makes the sub a lot less portable, but it’s suitable for my purpose.
Private Sub SetColumnWidths()
Dim i As Long, j As Long
Dim sColWidths As String
Dim dMax As Double
For i = 0 To Me.lbxText.ColumnCount – 1
For j = 0 To Me.lbxText.ListCount – 1
Me.lblHidden.Caption = Me.lbxText.Column(i, j) & “MM”
If dMax < Me.lblHidden.Width Then
dMax = Me.lblHidden.Width
End If
Next j
sColWidths = sColWidths & CLng(dMax + 1) & “;”
dMax = 0
Next i
Me.lbxText.ColumnWidths = sColWidths
End Sub
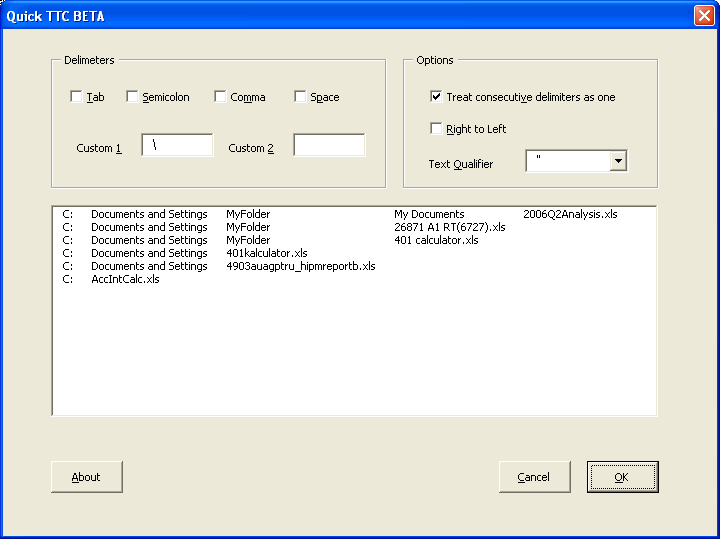
I add a couple of capital Ms to the end of the text before I measure the width. It gives a nice buffer. Then I just store the maximum that the width of the hidden label gets and create a column widths string from all of the maximums. Here it is in action:
Why not using Excel ?
sq = Sheets(1).UsedRange
ListBox1.List = sq
Sheets(1).UsedRange.Columns.AutoFit
ListBox1.Width = Sheets(1).UsedRange.Columns(UBound(sq, 2) + 1).Left * 1.2 + 3
Application.Wait Now + TimeValue(“00:00:01”)
ListBox1.ColumnCount = UBound(sq, 2)
For Each cl In Sheets(1).UsedRange.Columns
c0 = IIf(c0 = “”, “”, c0 & “;”) & cl.Width * 1.2
Next
ListBox1.ColumnWidths = c0
End Sub
Nice! Using ‘magic numbers’ like len() x Font.Size x 1.2 has never really worked; it had never occurred to me that I could use a label’s embedded ability to set it’s own width.
I like this trick, useful for my current project. Thanks for sharing.
You’re not in Seattle this year ? Or are you blogging during the quiet Ballmer sessions ?
Nope, I didn’t make it this year. Too many other commitments this Winter/Spring.
I haven’t found too many people who are conversant with the .Columnwidths property of the ListBox, except for this blog. So, here’s what’s probably a bug that popped up in Excel 2010 (but worked in previous versions).
If you set ListStyle = fmListStyleOption (checkboxes in the list), check some of the items, then set the ColumnWidths property to anything, all of the checked items become unchecked.
To test, create a userform with one listbox and one command button. Add the following code.
Private Sub UserForm_Initialize()With ListBox1
.MultiSelect = fmMultiSelectMulti
.ListStyle = fmListStyleOption
.ColumnWidths = "100;100"
.AddItem "First"
.AddItem "Second"
.AddItem "Third"
End With
End Sub
Private Sub CommandButton1_Click()
ListBox1.ColumnWidths = "90;90"
End Sub
Check some items, then hit the button.
I can find no explanation for this.
DM/Diddy,
This is the simplest codes for auto fitting the listbox columns. Thanks!
Still useful in 2020, thanks!